Please take a look at my latest Andology Logo Stinger / Logo Intro Sequence. I cusom designed all elements of it, even hand crafted the textures and sound effects. I really pushed myself with this project – I hope you like the results.
SEE HOW IT WAS MADE:
1. Initial Logo Outline
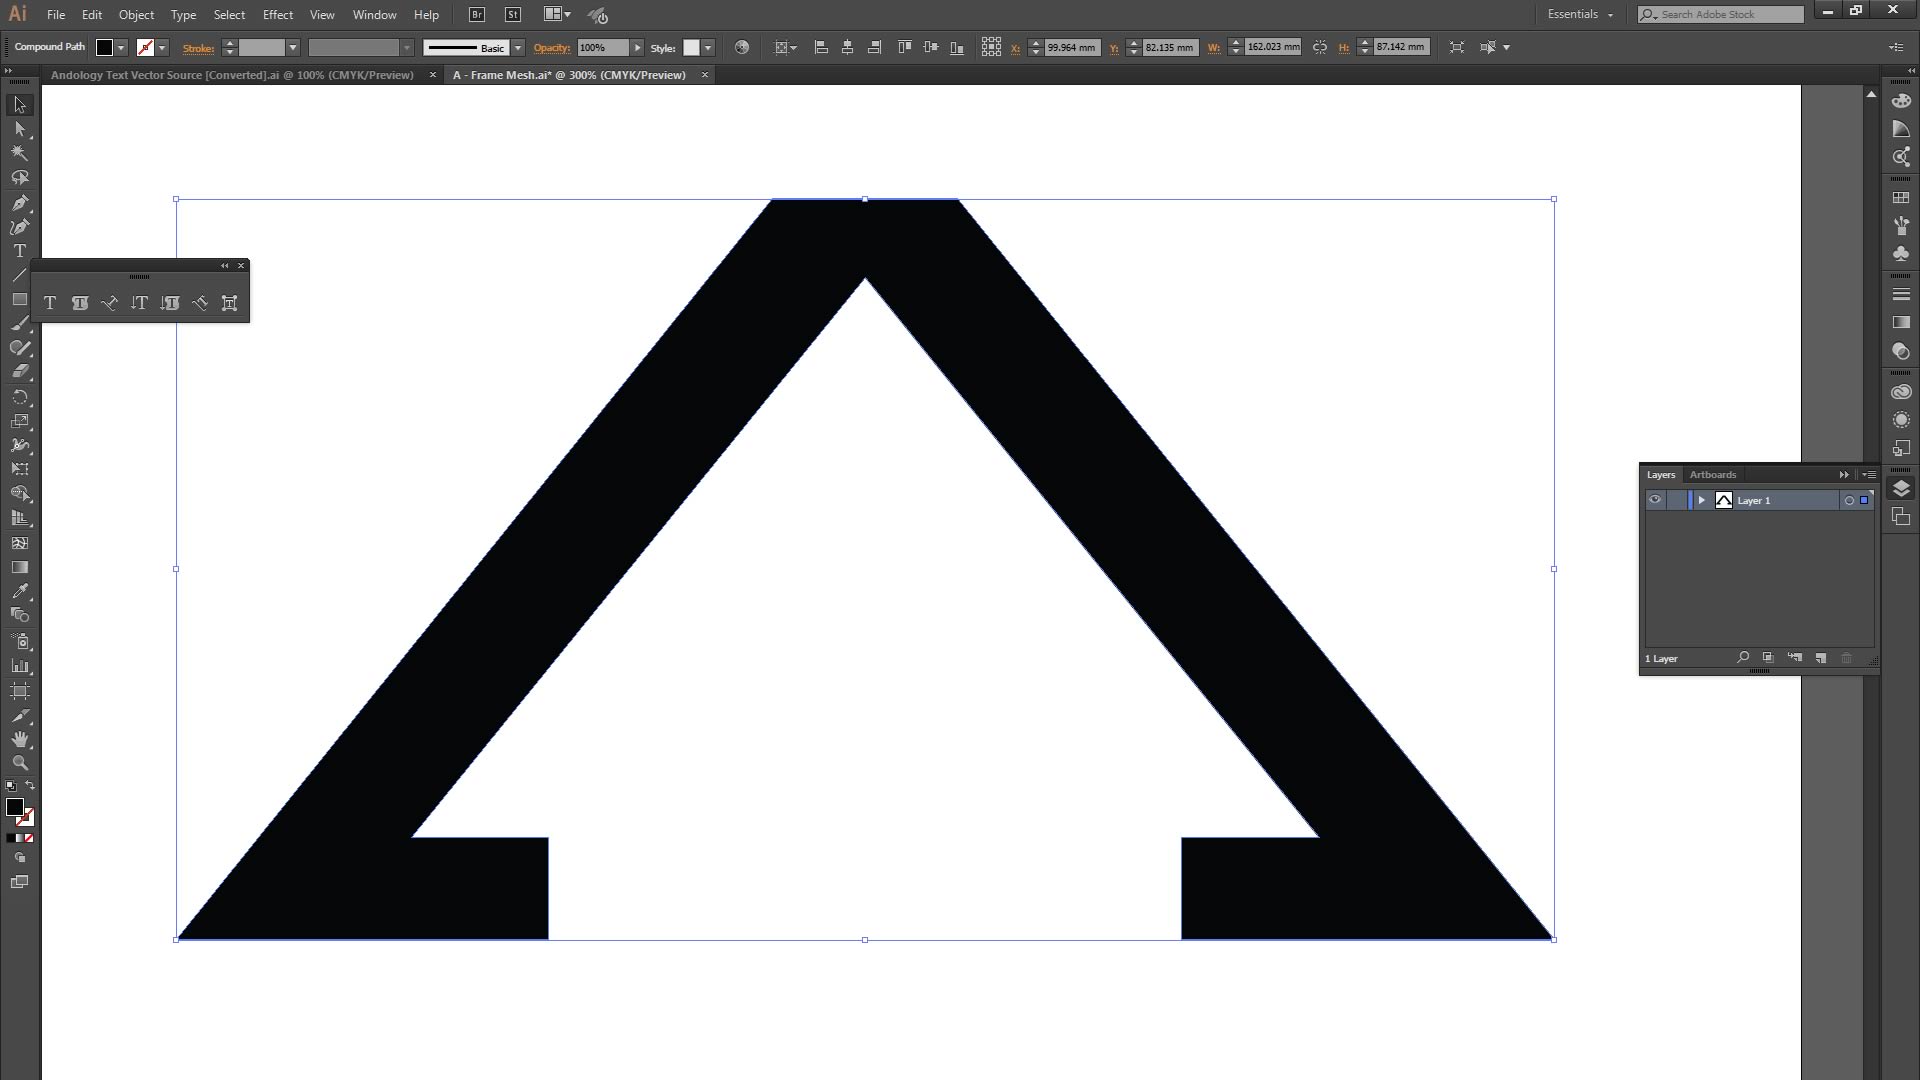
Adobe Illustrator – Vector graphics editing
I usually begin with Adobe Illustrator or Adobe Flash as my tool of choice for logo design. This allows for total vector based graphics which allow for infinite scaling without any reduction in quality (unlike raster images such as .jpeg .gif .bmp .png etc).
This is also what I use when i’m preparing objects for a 3D environment which will be later extruded.
Here is the Andology Logo A frame in Adobe Illustrator:
2. Motion Graphics & 3D Modelling
Adobe After Effects – Motion Graphics & Special FX
Adobe After Effects is a very powerful motion graphics tool that enables professional / industry standard quality animations & special effects.
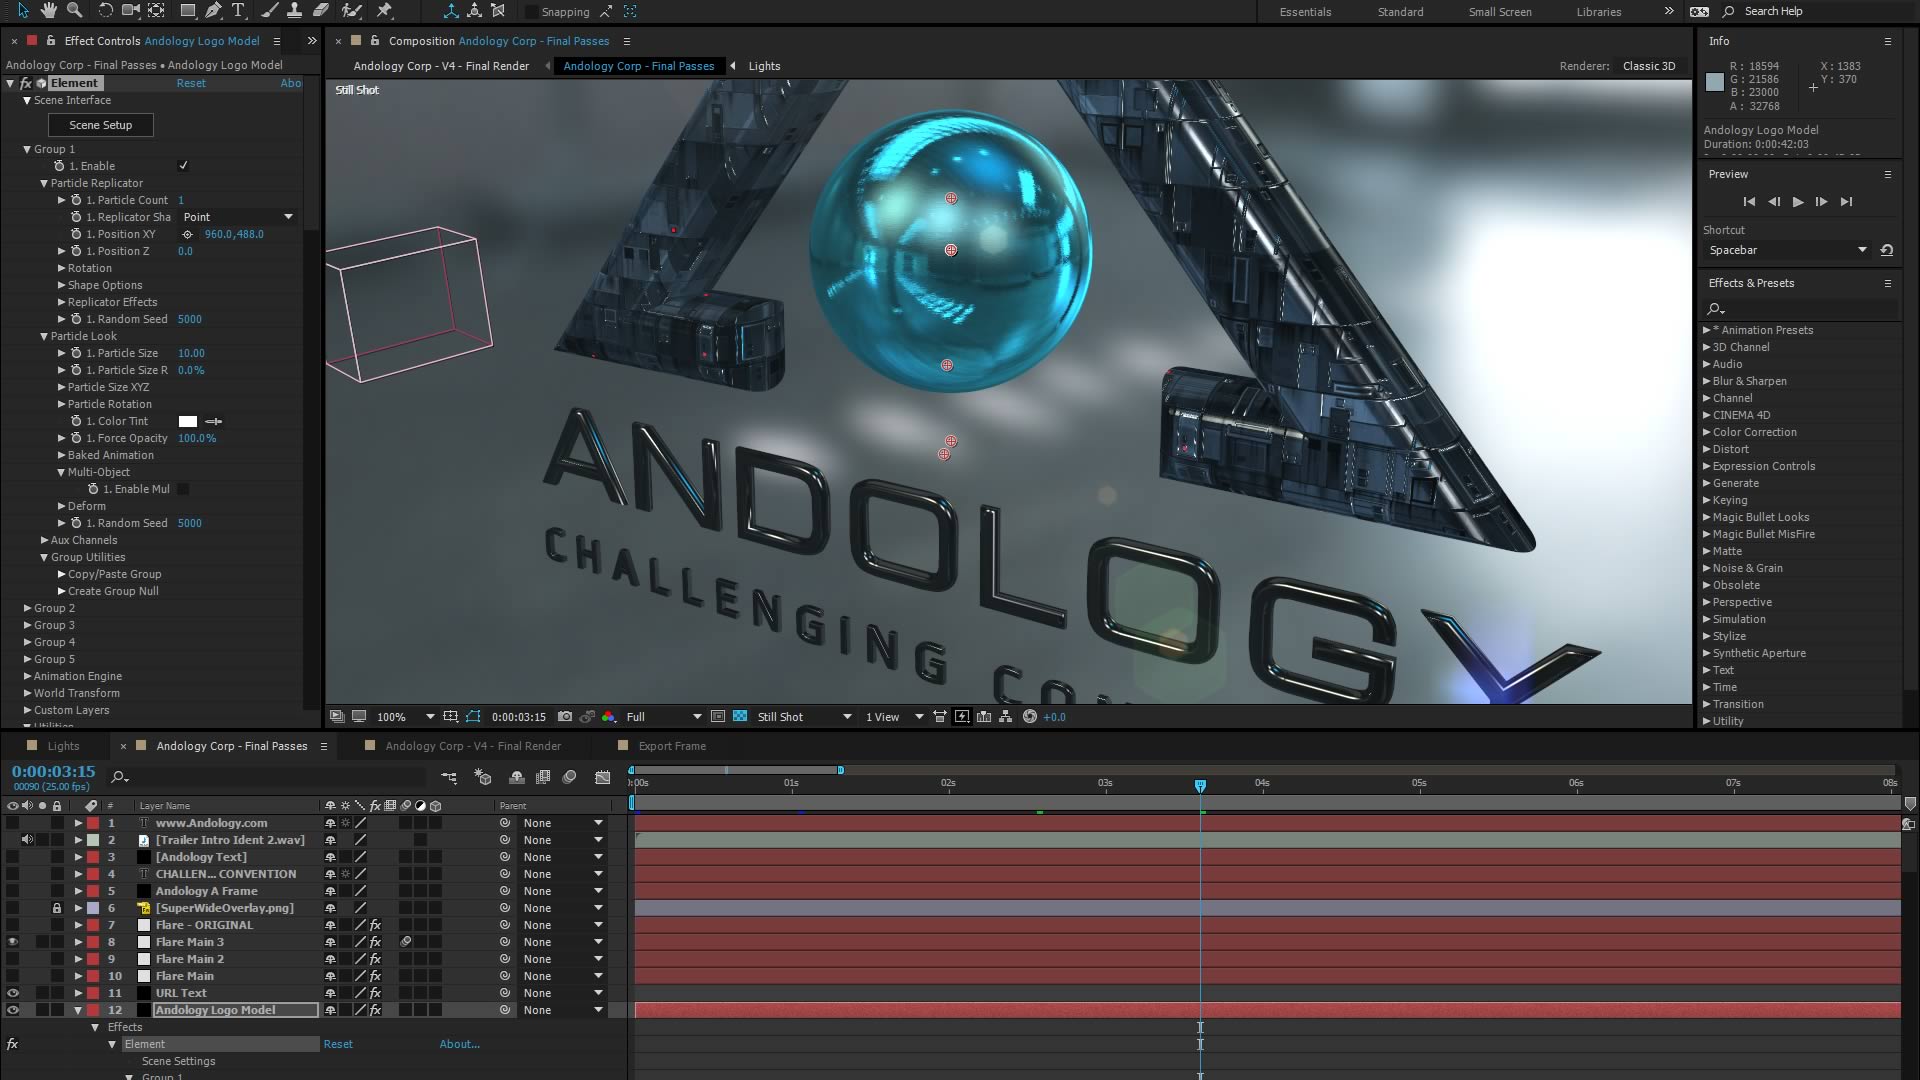
I have many specialised plugins that I use for various work I do for my clients. Generally, I will setup the scenes & lighting & any post-production special effects before exporting out RAW footage that will then be edited using my preferred NLE.
Here is the logo sequence being set up within the scene:
3. 3D Modelling
Video Copilot – Element 3D
I’ve been using software and tools from Video Copilot for many years, and pretty much everything Andrew Kramer comes out with I buy!
Element 3D is a very powerful tool for 3D modelling and animation. I used to create all my 3D animations using Autodesk 3DS Max many years ago, but i’ve found the render quality vs time to render / workflow of VC Element 3D is way better.
Here is the Andology Logo being created in Video Copilot Element 3D:
4. Special Effects
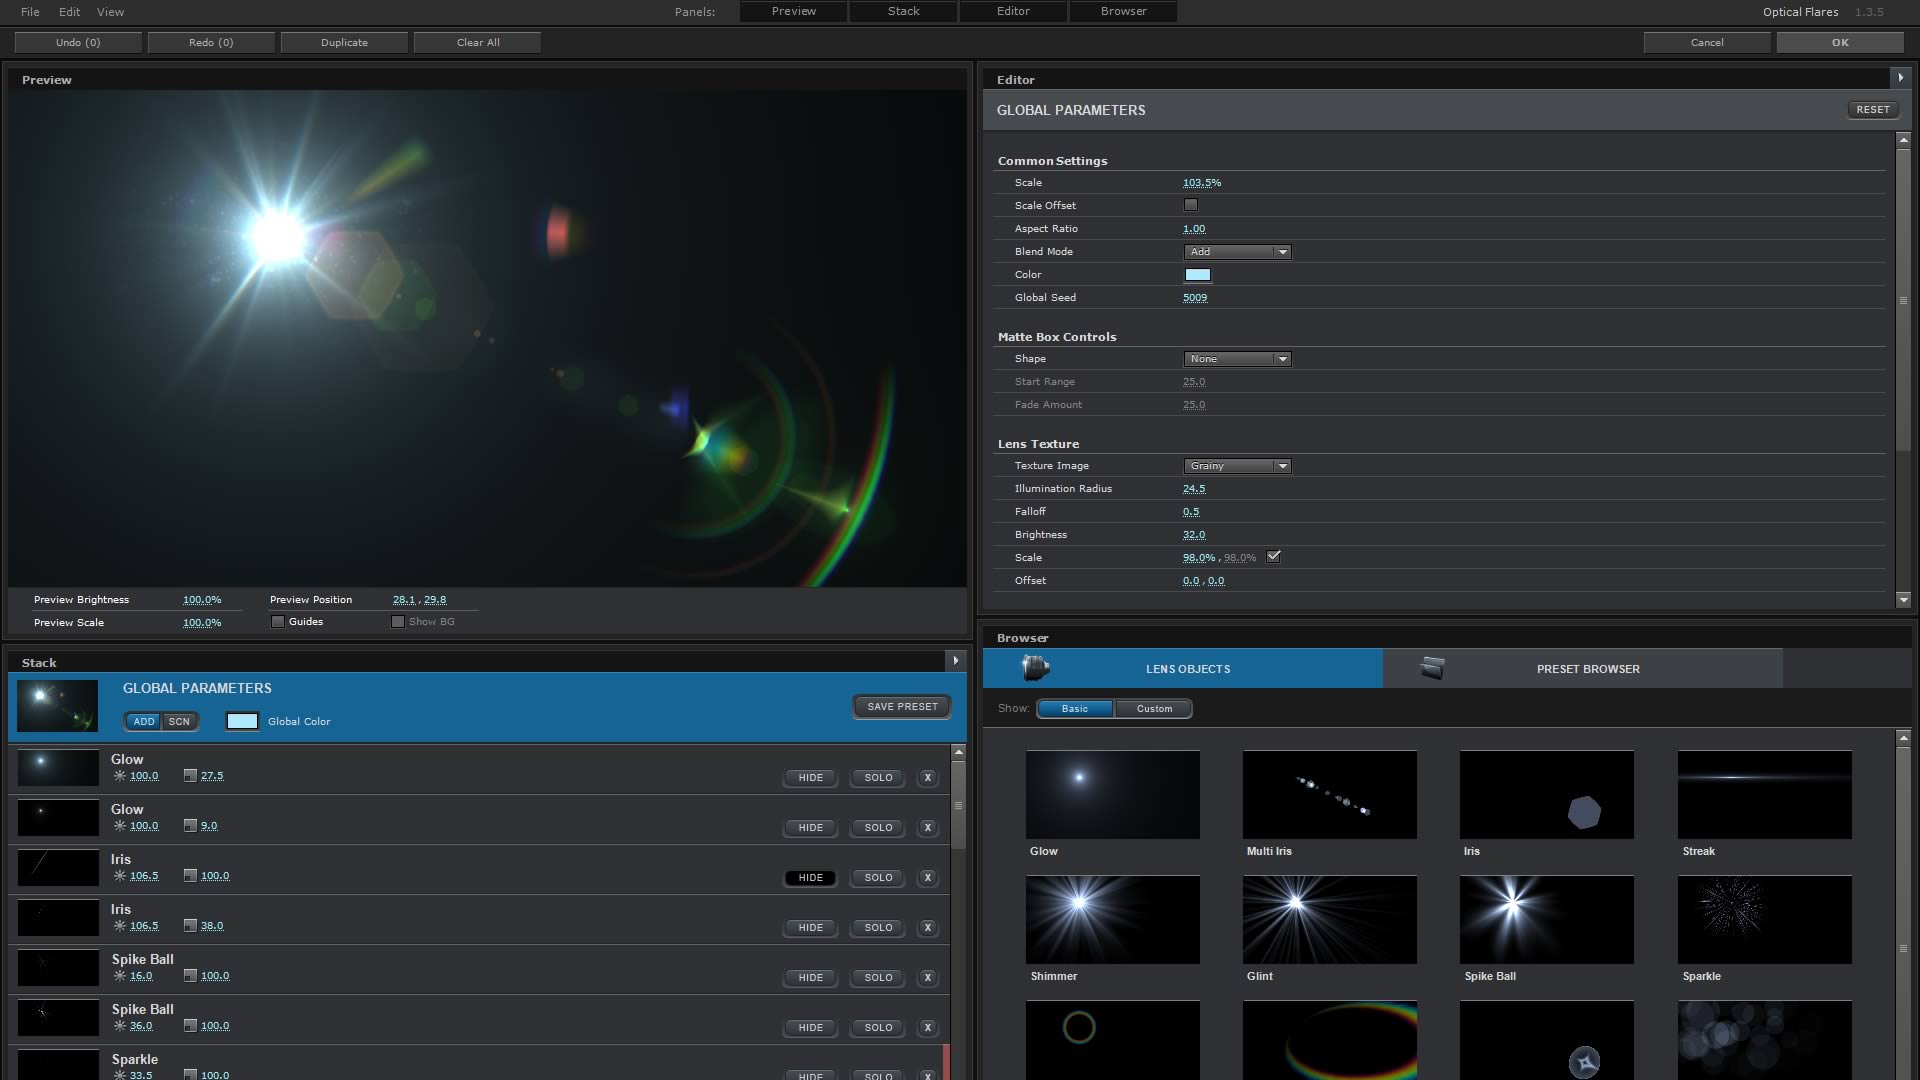
Video Copilot – Optical Flares
Another great tool from Video Copilot is Optical Flares.
With true 3D compatibility and dynamic light triggers, I love the look of adding the final touches to an animation – bringing it to life. I do spend a stupid amount of time getting the perfect lens flare for each project. There’s just way too many options!
Here’s my setup used for the Andology Logo Intro:
5. Final Edit
Adobe Premiere Pro – Putting it all together
There are many types of NLE professional video creators like to use. I’ve used most of the popular ones over the years, but my goto NLE is Adobe Premiere Pro.
Typically I will bring my footage in RAW from my camera, or import full quality .mov files from After Effects after creating motion graphics material. I will use Premiere Pro to put together the clips, make final adjustments, and perform colour grading and final post production touches.
Here is a shot of me applying the final colour grading using a great plugin from Red Giant – Magic Bullet Looks:
Audio Production
A major part of any video production is the Audio. I use Premiere Pro to build the music tracks and add sound effects to the final production. See the screen shot below – you’ll see just how many sound files make up the audio sequence: (the green blocks)
Other Plugins Used
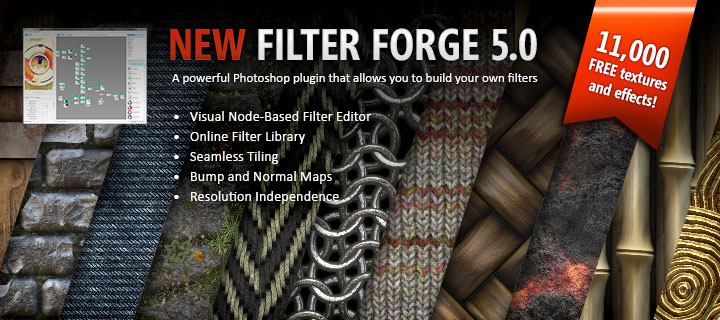
All of the custom textures used to create the Andology Logo 3D Model were created using Filter Forge:


